
Make · 11 min read
DIY Smokehouse: Flavorful Preserved Meats
Build a small upright smokehouse with a remote firebox, then learn cold-smoke versus hot-smoke workflows for safe results.
Smokehouse vs grill
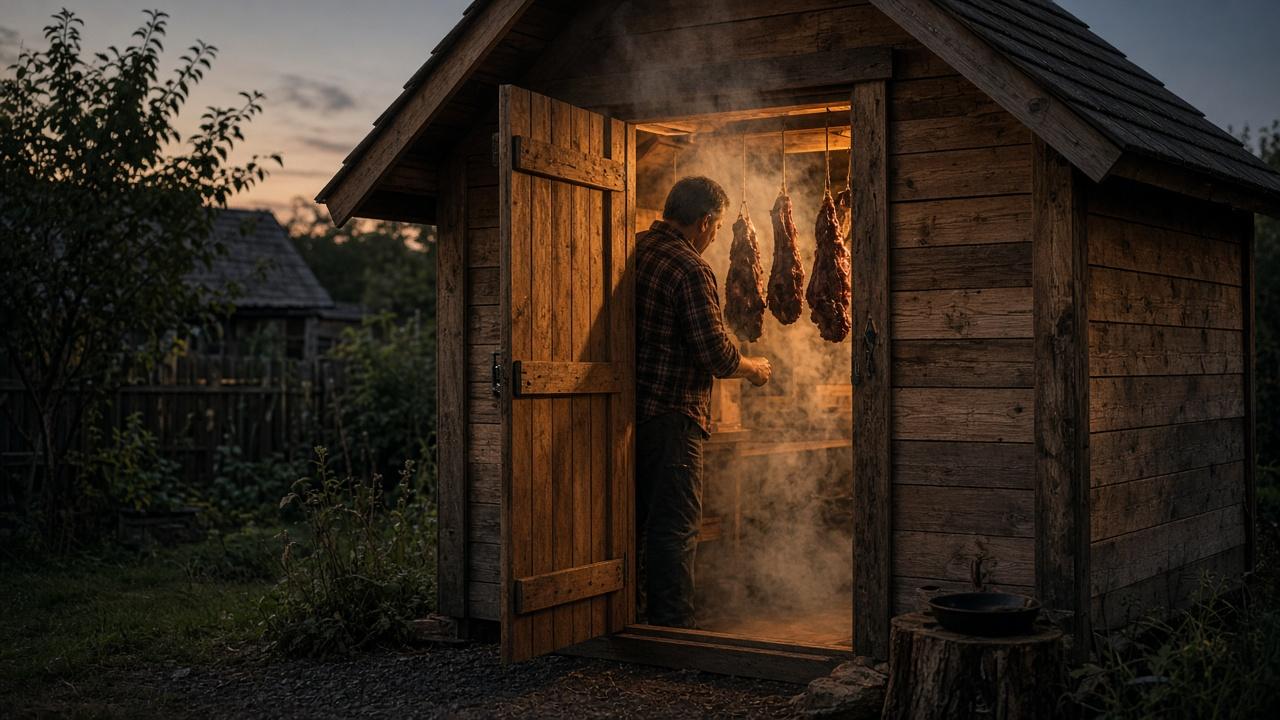
A dedicated smokehouse gives steadier smoke and more hanging space than a kettle grill. For beginners, a vertical plywood or metal cabinet with a remote firebox is enough.
Step 1 — Cabinet shell
Build or convert a tall weatherproof box with:
- A tight door
- Upper and lower dampers
- Bars or hooks for hanging
- A thermometer port at product level
Line with metal if using wood long-term near heat.
Step 2 — Remote firebox
Place the firebox a few feet away and connect with metal duct. This helps avoid flare-ups and grease fires on the food. Start with hardwoods: oak, apple, cherry, hickory—never resinous softwoods.
Step 3 — Learn two modes
- Hot smoking: cooks while smoking (think ribs, poultry). Keep temperatures appropriate to the meat and finish to safe internal temps.
- Cold smoking: flavors without cooking; requires careful curing first and cool smoke. Do not cold-smoke as a shortcut around curing knowledge.
If you are new, master hot smoking first.
Step 4 — First project: hot-smoked chicken
- Dry-brine overnight with salt and spices
- Air-dry in the fridge so skin takes smoke
- Smoke until safe internal temperature
- Rest, then refrigerate leftovers promptly
Step 5 — Cleaning and grease control
Scrape grease trays. Keep ducts clear. Store the unit dry. Smoke flavor should be clean, not bitter or ashy—bitter usually means dirty equipment or smoldering wet fuel.
Treat meat safety as non-negotiable: cure when required, track temperature, and refrigerate finished food.
Want more like this? Browse the full Make collection.
Keep building
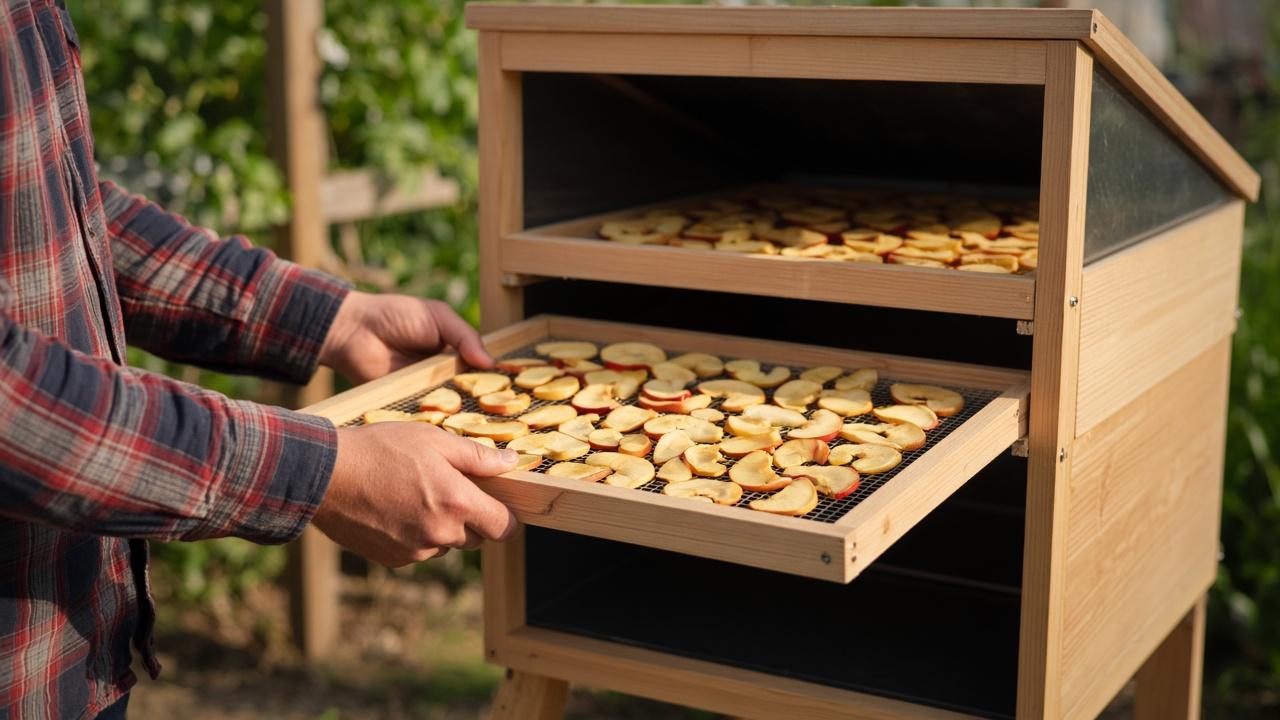
Building a Solar Dehydrator for Food Preservation
Build a passive solar dryer with a collector box, screened trays, and airflow you can tune for fruit, herbs, and jerky-style strips.
Read more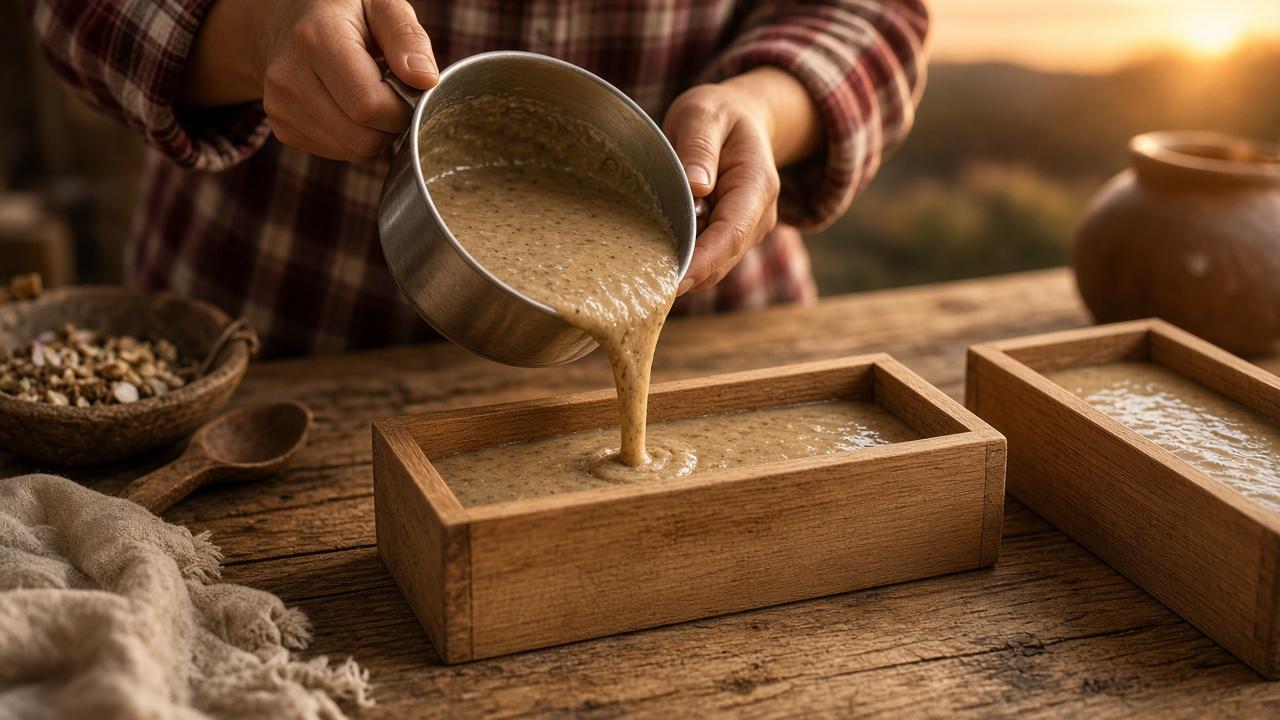
Making Simple Natural Soap From Scratch
A careful cold-process soap workflow with safety gear, accurate weighing, and a basic olive-coconut recipe you can customize later.
Read more