
Make · 26 min read
Making Simple Natural Soap From Scratch
Treat lye as the hazardous chemical it is, weigh every oil, run a lye calculator, and make a small olive–coconut cold-process batch you can cure for a month.
Soap from scratch is a chemical reaction: oils + sodium hydroxide (lye) + water → soap + glycerin. There is no handmade bar without lye at some point. “Without lye” labels are marketing; the lye is used up if the recipe is calculated and the soap is fully saponified.
Lye burns skin and eyes. This is a goggles-and-gloves project, outdoors or in a window-blasted kitchen, with no kids and no pets underfoot. The Handcrafted Soap and Cosmetic Guild beginner cold-process guide is the checklist this article follows in spirit: weigh, calculate, protect, mix, cure.
Do not invent a lye amount. Run your exact oils through a lye calculator (HSCG hosts one) every time, even if you “always use the same recipe.”
What you need (safety first)
- Splash goggles, not glasses
- Chemical-resistant gloves
- Long sleeves, closed shoes, apron
- Paper mask if you are sensitive to the brief fumes when lye hits water
- Vinegar nearby does not neutralize a serious lye burn—flood with water and get medical help for eyes. Know this before you open the bottle.
- Digital scale (0.1 g or 0.1 oz)
- Two lye-safe pitchers: HDPE plastic, stainless, or heat-safe polypropylene. No aluminum. No mystery crystal pitcher.
- Stainless pot for oils
- Stick blender you will retire from food use or wash with paranoid care
- Instant-read thermometer
- Silicone loaf mold or a cardboard box lined with freezer paper
- Distilled water
- Sodium hydroxide labeled for soapmaking (99% drain cleaner only if the label is pure NaOH with no additives—many drain products are not)
Work next to a sink. Tell someone you are making soap.
A beginner oil blend (you still must calculate lye)
A classic gentle-and-cleansing start, by weight:
- 70% olive oil (stable, milder bar, slower to harden)
- 30% coconut oil (bubbles and cleansing; too much can feel dry)
HSCG’s oil notes: base oils. Coconut at 100% is a laundry-feeling bar. Olive at 100% is Castile and can take months to harden. The 70/30 split is a reasonable first loaf.
Batch size: 500–700 g total oils (about 1–1.5 lb). Not 10 lb on night one.
Lye discount / superfat: beginners often use 5%. That means the calculator holds back a little oil so the bar is less likely to be harsh. Do not skip this until you know why.
Water: many calculators offer a 33% lye solution (about 2:1 water:lye by weight). Use what the calculator gives you for your oils.
Print the calculator result and tape it to the counter.
Step-by-step cold process
Set out labeled containers: oils, water, lye, mold. Goggles on before the lye lid opens.
1. Weigh distilled water
Pitcher on scale, tare, weigh the water the calculator specified. Set aside.
2. Weigh lye
Different pitcher. Slow. If you spill, do not wipe with a bare hand.
3. Add lye to water — never water to lye
Outside or under a strong fan. Stir until clear. The pitcher will get hot. Do not breathe the plume. Set it somewhere it cannot spill, to cool toward about 95–105°F (HSCG’s beginner band; some soapers work cooler—follow your recipe notes).
If lye water hits skin: rinse with lots of water, don’t wait.
4. Melt and weigh oils
Weigh olive and coconut separately, combine, melt coconut gently until just liquid. Cool the oils toward the same 95–105°F band so you are not pouring lava into lava.
5. Combine
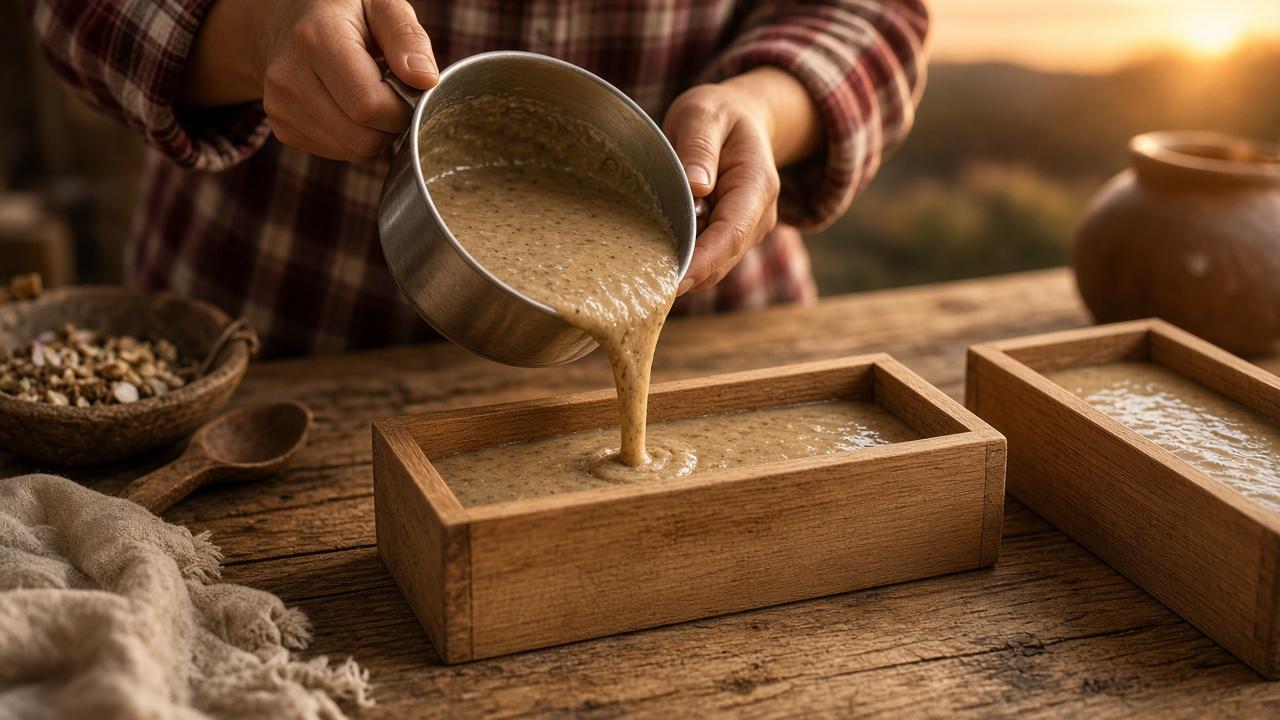
Pour the lye solution into the oils (or as your calculator workflow states). Stick-blend in short bursts, stirring by hand between, until trace: drizzle on the surface leaves a brief mark before sinking. Light trace is enough for a plain loaf. Thick trace is for swirls you should not attempt yet.
6. Pour, insulate, wait
Pour into the mold. Tap to release bubbles. Cover with a towel so it doesn’t cool so fast it seizes oddly—unless the room is already hot; then you may skip heavy insulation to avoid overheating (a cracked, gelled loaf is cosmetic, a volcano is a mess).
Leave 24–48 hours until it is firm enough to hold a cut. If it is still pudding, wait.
7. Unmold and cut
Gloves still smart; the bar can be alkaline. Cut into bars. If it crumbs, it needed more time in the mold.
8. Cure 4–6 weeks
Stand bars on edge on a rack with airflow, not in a sealed plastic bin. They lose water, harden, and become milder. Label the batch with date and oils.
A fully cured bar should not zap your tongue if you were old-school about the “zap test”—better: just wait the month and use a pH strip if you are curious. If a bar stings badly in use, it is not ready or the recipe was wrong; don’t gift it.
Cleaning up lye tools
Leave lye pitchers alone until you can fill them with soapy water and let leftover raw soap finish reacting. Wash tools with gloves. Keep the stick blender for soap or clean it like it bit you.
What usually goes wrong
- Volume cups instead of a scale
- Water into lye (the reverse volcano)
- Aluminum bowl (you will not like the reaction)
- Pouring at 160°F because you were impatient
- Using the soap tomorrow on your face
Fragrance and color (optional, later)
Skip essential oils until the plain bar works. Some oils accelerate trace and turn a loaf into mashed potatoes in the pot. Colorants have their own rules. Master beige soap first.
Further reading
- HSCG: make cold-process soap
- HSCG: how soap is made
- HSCG lye calculator — use the Tools section
- Poison control / your local emergency number on the fridge before you start
If you do not want to handle lye, buy a good bar from someone who does, or use a melt-and-pour base (that soap already went through saponification). There is no shame in that. Scratch soap is for people who will treat NaOH with respect every single time.
Want more like this? Browse the full Make collection.
Keep building
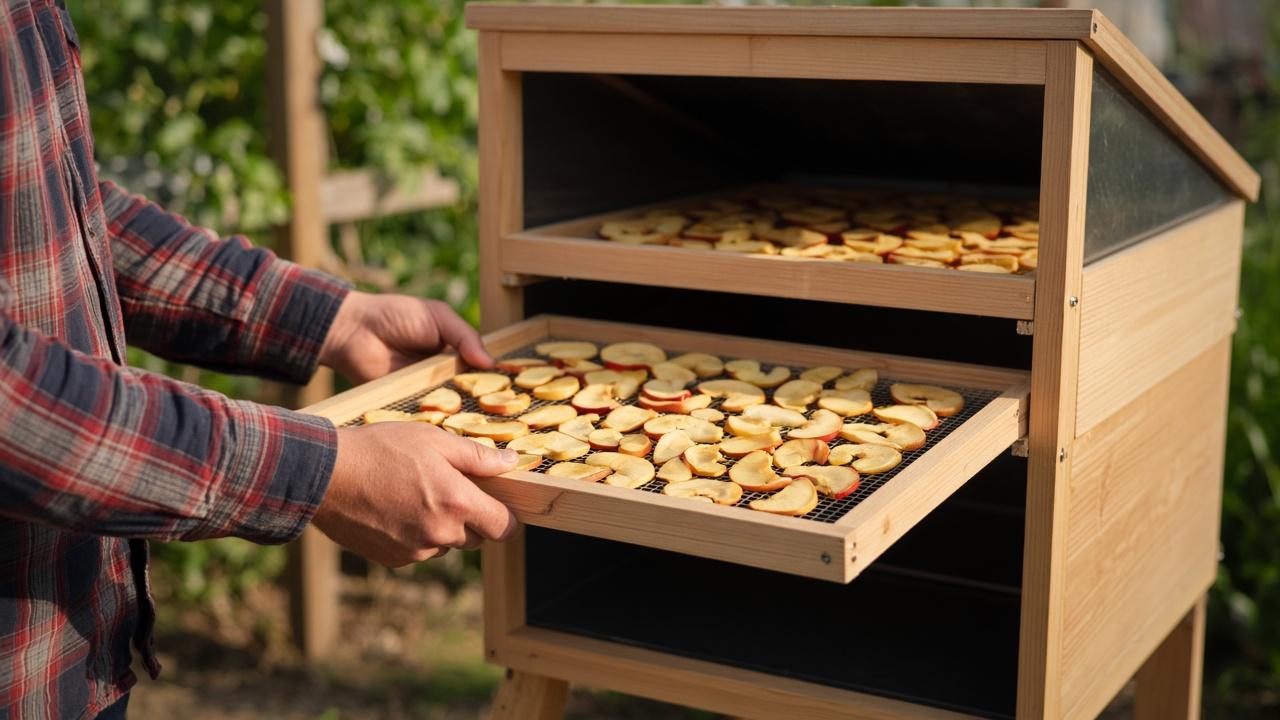
Building a Solar Dehydrator for Food Preservation
Build an indirect solar dryer: a tilted black collector that heats air, a screened cabinet stacked with trays, and vents you can actually adjust on a hot afternoon.
Read more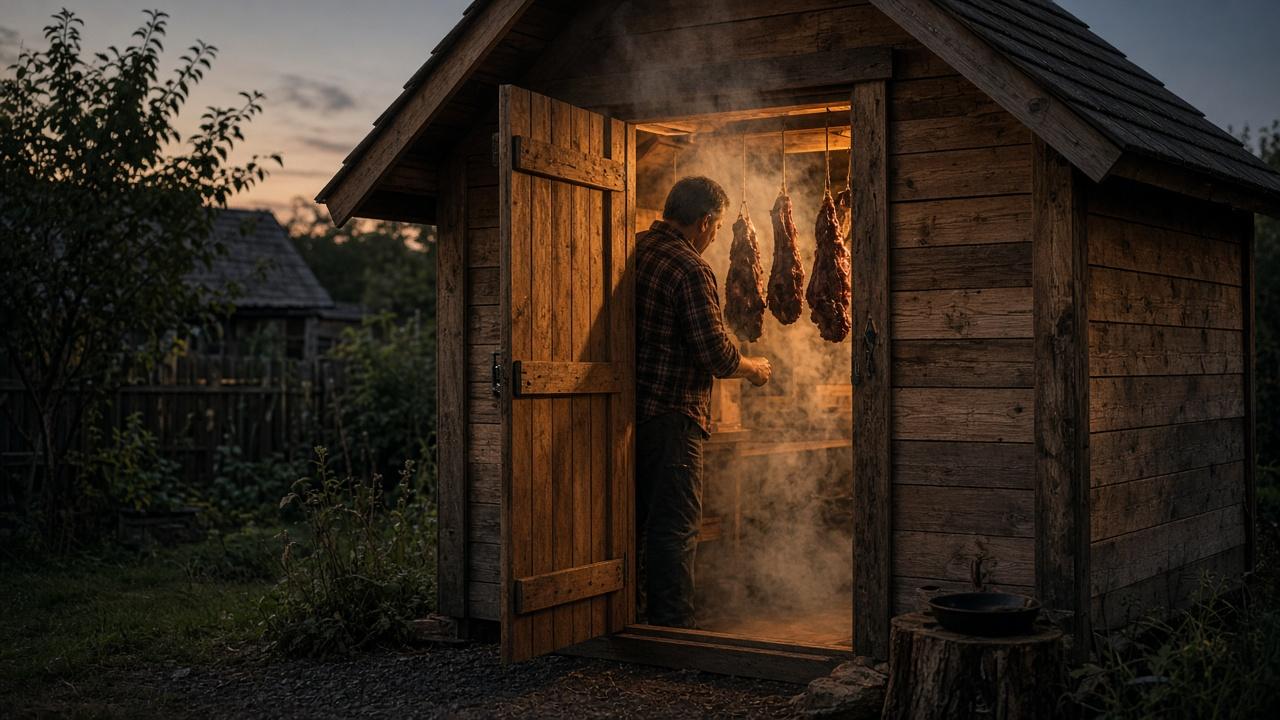
DIY Smokehouse: Flavorful Preserved Meats
Build a small upright cabinet with a remote firebox for hot smoking, cook to a verified internal temperature, and leave cold-smoking for later—after you have curing down cold.
Read more