
Food · 24 min read
Fermenting Vegetables at Home: A Reliable Starter Method
Weigh the salt, keep the vegetables under brine, and ferment cabbage or carrots at cool room temperature until they taste pleasantly sour—then refrigerate.
Vegetable fermentation is salt, time, and no air on the food. Beneficial lactic acid bacteria (already on the vegetables) make acid; the acid is what keeps the jar in the safe zone. You are not adding vinegar in this method. You are making an environment where the right microbes win.
Safety depends on enough salt and food kept under the brine. Do not “cut the salt” because a blog said so. NCHFP is explicit: General information on fermenting. Illinois Extension’s brine math is a good beginner reference: Fermenting.
This walkthrough starts with sauerkraut (dry-salt shredded cabbage) and a 3% brine carrot jar. Both are beginner-shaped.
What you need
- Digital scale that does grams (worth it)
- Canning or pickling salt — not iodized table salt, not flake salt of unknown density, not salt with anti-caking junk if you can avoid it (it clouds brine)
- Glass jars (quart) or a crock
- A weight: a smaller jar filled with water, a glass fermentation weight, or a zip bag of brine (not a limestone rock from the driveway)
- Optional airlock lid; a regular lid you “burp” daily also works
- Fresh, firm vegetables. Soft, slimy produce will not become a science experiment worth eating.
Skip metal bowls that react, and skip old rusty crock chips.
Salt, in numbers you can actually use
Two common, tested-neighborhood approaches:
Dry-salt cabbage (sauerkraut style): about 2–2.5% salt by weight of cabbage. That means 20–25 grams of salt per 1,000 grams cabbage. Virginia Tech notes sauerkraut often sits around 2.25–2.5%: Vegetable fermentation (PDF).
Brined pieces (carrots, green beans): Illinois Extension’s home guidance uses roughly 3% brine for shredded and 5% brine for large pieces. Their kitchen measures: about 2 tablespoons (27 g) salt per quart of water for 3%, and 3 tablespoons (45 g) per quart of water for 5%. Weighing is still better.
Do not use iodized salt if you can help it (off colors, sluggish ferment).
Project A — Small-batch sauerkraut, step by step
- Weigh a mixing bowl. Tare to zero.
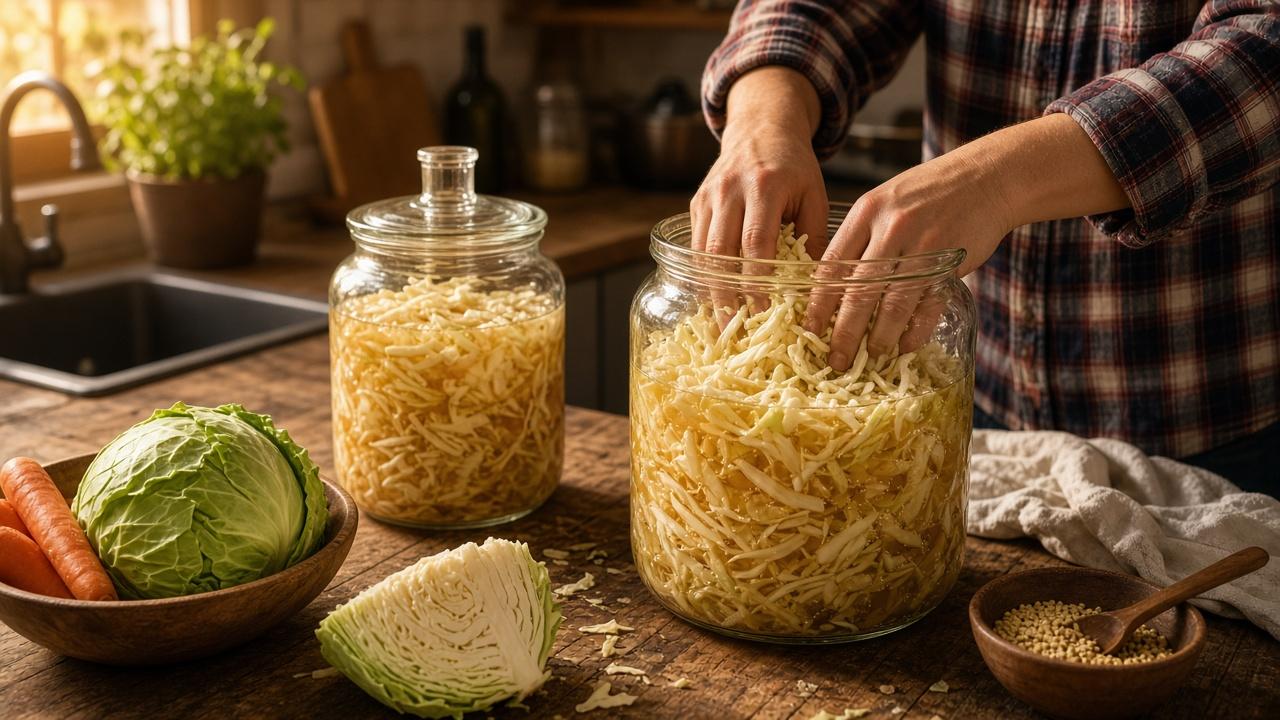
- Quarter a head of cabbage, cut out the core, shred finely. You want thin strands, not chunks.
- Weigh the cabbage. Write the number down.
- Calculate salt: cabbage grams × 0.02 for a 2% start (beginners can use 2.25% if the kitchen is warm). Example: 800 g cabbage × 0.0225 = 18 g salt.
- Sprinkle salt over cabbage. Massage 5–10 minutes until a puddle of juice appears. If it stays dry, wait 10 minutes and massage again. You need brine from the cabbage itself.
- Pack into a clean quart jar in fistfuls, pressing hard so brine rises over the cabbage. Leave 1–2 inches of headspace because it will bubble.
- Put a piece of clean cabbage leaf on top as a “follower,” then the weight. Everything edible stays under liquid.
- Lid: airlock, or a regular lid set fingertip-tight. If using a solid lid, loosen it daily to burp gas so the jar does not become a cabbage grenade.
- Set the jar on a plate (it may leak) at about 65–72°F. A basement is better than a stove-side.
- Start tasting at day 5–7. Many jars are happy between 1 and 3 weeks. When it tastes brightly sour and you like it, lid it firmly and refrigerate. Cold slows the ferment.
What you should see: bubbles, cloudy brine, a sour smell like pickles. A thin white film on the surface can be kahm yeast—skim it, keep food submerged. Fuzzy mold on the food, pink slime, rotten-trash smell: compost the batch. Do not scrape and keep it.
Project B — Brined carrot sticks
- Peel (optional) and cut even sticks.
- Mix a 5% brine because these are large pieces: 45 g pickling salt per 1,000 g water, or Illinois’ 3 Tbsp per quart as a kitchen proxy. Dissolve completely. Use filtered water if your tap is heavily chlorinated; chlorine can slow a ferment. Letting tap water sit overnight helps some of it off-gas, or use filtered.
- Pack carrots in the jar. Cover with brine. Weight them under.
- Same temperature and burp rules as kraut.
- Taste after a week. Refrigerate when the crunch and sourness suit you.
Garlic cloves and a mustard seed are fine. Do not dump a cup of leftover soup in “for flavor.”
Temperature, time, and patience
Warm kitchens go fast and can go soft. Cool kitchens go slow and often taste cleaner. If the jar is ice-cold, fermentation stalls. If it is 80°F in July, move it to the coolest closet or wait for fall.
Keep a sticky note on the jar: salt percent, start date, first taste date.
What not to do
- Reduce salt “for health” in a fermented pickle. Make a smaller jar instead.
- Use a rusty coffee can as a weight.
- Leave cabbage poking into oxygen for a week and then argue with the mold.
- Can fermented vegetables in a boiling-water bath unless you are following a tested canning recipe for that product. Refrigerated ferment ≠ shelf-stable canned food.
If you want to get serious later
pH strips that actually read in the 3–4 range, or a pH meter, tell you the acid arrived. Home cooks who follow salt, submersion, and smell rarely need a lab. Commercial producers do. Don’t fake a commercial process on the counter.
Further reading
- NCHFP: general information on fermenting
- NCHFP: sauerkraut — use their sauerkraut procedure when you want the fully tested crock method
- Illinois Extension: fermenting
- Virginia Tech FST-328 vegetable fermentation (PDF)
When the brine stays over the food and the smell makes you want a fork, you did it. Refrigerate. Eat it on beans and sausages. Start the next jar while this one is still around.
Want more like this? Browse the full Food collection.
Keep building
Preserving Tomatoes Without Fancy Gear
Freeze them whole, roast a tray into concentrate, or simmer a simple sauce—and leave canning to tested USDA methods with added acid if you want jars on a shelf.
Read more