
Home Garden · 22 min read
Build a Three-Bay Compost System That Actually Finishes
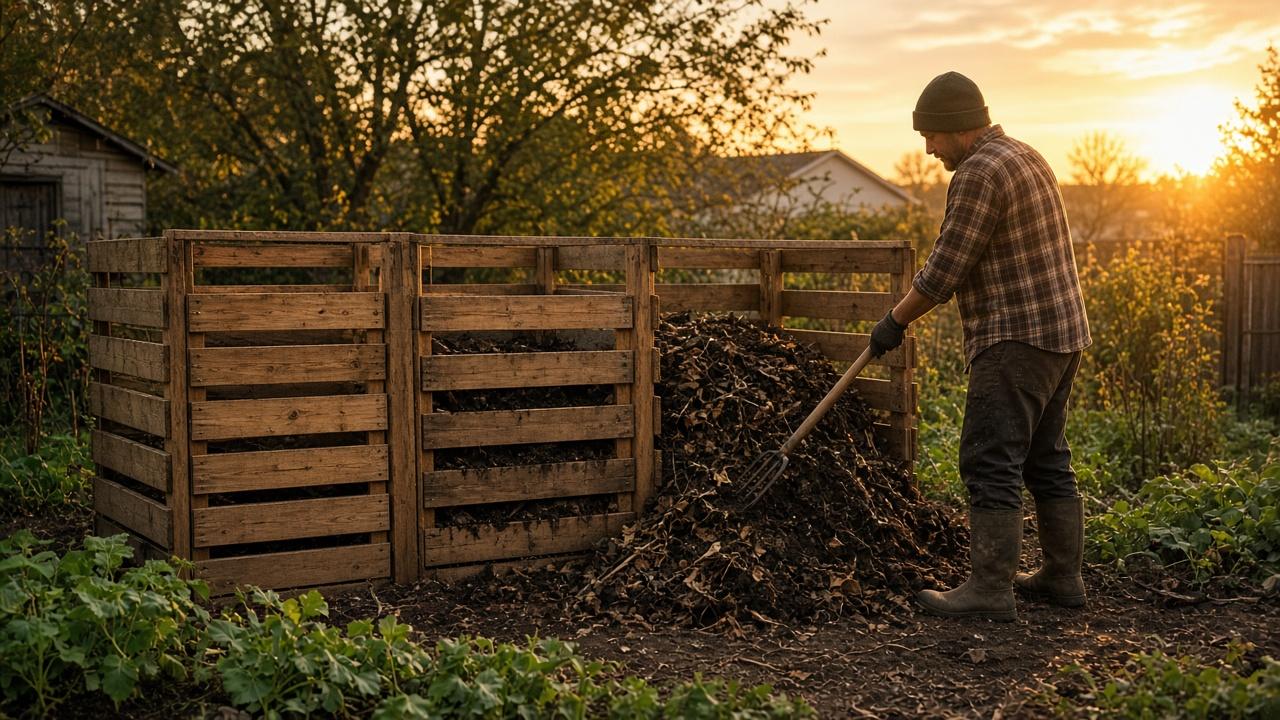
Build three 3×3×3-foot bays so you can collect, cook, and cure in separate piles—then keep greens, browns, and moisture in the range microbes actually like.
A single heap that you throw kitchen scraps on forever never “finishes.” You always have banana peels next to dirt-looking material, so you never trust it in the tomato bed. Three bays fix the workflow:
- Collect — fresh scraps and browns go here
- Cook — a full pile you turn and watch for heat
- Cure — resting compost that looks like soil before you spread it
Cornell’s home composting physics still hold: a pile about 1 cubic yard (3×3×3 feet) can hold heat, and moisture around 50–60% (a wrung sponge) is the sweet spot. Read Cornell Waste Management Institute: balancing greens and browns and compost physics.
Tools and materials
- Four or five pallets in decent shape, or 2x4 posts and 1x6 slats, or concrete blocks
- Exterior screws, corners, a removable front on each bay (hooks, slats you can lift)
- Hardware cloth on the floor if rodents are a problem (optional but nice)
- Pitchfork or compost fork, a tarp for rain, a cheap compost thermometer if you like gadgets
- A source of browns stockpiled in fall: leaves, shredded cardboard, straw. This is the ingredient people run out of in July.
Site: a level, well-drained corner you can hose, not against painted siding you care about. Semi-shade keeps piles from baking dry.
Step 1 — Build three boxes that open on the front
- Each bay interior about 3 ft wide × 3 ft deep × 3 ft high. Smaller will still compost; it just stays cooler and slower.
- Share walls between bays to save lumber.
- Leave the front as stacked boards or a pallet you can unhook so you can fork the pile out.
- Don’t floor it with solid plastic. Earth contact and a little drainage are useful. A pallet floor can help airflow.
- If you use pallets, check for the DB stamp (heat-treated) rather than mystery chemical treatments.
UC’s three-bin management sheet is a useful operational picture: Three-bin composting system (PDF).
Step 2 — Know greens vs browns like a cook knows salt vs flour
Greens (nitrogen, usually wet): fruit and veg scraps, coffee grounds, fresh grass, plant trimmings, herbivore manure if you have it.
Browns (carbon, usually dry): autumn leaves, straw, shredded cardboard and paper (no glossy junk mail), wood chips (slow), sawdust in small amounts mixed well.
A working home ratio is often two to three parts browns to one part greens by volume, then adjust by smell and moisture.
Do not add in a simple backyard pile: meat, bones, dairy, oily food, pet waste, diseased tomato vines you don’t want everywhere, glossy colored cardboard, charcoal ash from briquettes.
Step 3 — Fill bay 1 like lasagna, not a trash can
- Six inches of coarse browns on the bottom (sticks, chips) for air.
- Add greens in the middle, not plastered on the outer walls.
- Cover every food layer with browns so the pile doesn’t advertise to raccoons and flies.
- Moisten as you go. Squeeze a handful: a few drops is good. A stream means too wet—add leaves.
- When bay 1 is full and you have a mix, stop adding new food there.
New scraps now start in an empty bay or a lidded kitchen pail until you have enough to layer.
Step 4 — Turn into bay 2 when it heats (or when a week has passed)
A working pile often climbs toward 130–150°F in the middle. You do not need a thermometer, but it helps. If the center is steamy on a cool morning, microbes are working.
- Fork the whole pile into the middle bay, outside to inside, top to bottom. This is the turn. You are mixing dry shoulders into the wet core and adding air.
- If it was soggy and sour, mix in leaves as you turn.
- If it was dusty and cold, sprinkle water and add greens (grass, food scraps).
- When the middle bay has cooled after its heat cycle, turn it again or move it to bay 3 to cure for several weeks.
Curing is where it stops looking like shredded cabbage and starts looking like dark crumbly soil. You should not recognize the onion bag.
Step 5 — Use it only when it is actually done
Finished compost:
- Smells like a forest floor, not ammonia, not garbage
- Is dark and crumbly
- Doesn’t heat back up after a rest
- Has few recognizable scraps (a stubborn avocado pit doesn’t count against you)
Spread 1/2–1 inch on garden beds, or mix into potting blends after screening. Unfinished compost can burn seedlings and steal nitrogen while it keeps rotting.
Troubleshooting by nose and eye
| What you notice | Likely cause | What to do |
|---|---|---|
| Ammonia smell | Too many greens | Fork in leaves or shredded cardboard |
| Rotten, wet, flies | Too wet / no air | Add browns, turn, tarp off monsoon rain |
| Pile never warms | Too small, too dry, all brown | Make it bigger, water, add grass or food |
| Raccoons | Food on the surface | Bury scraps, hardware-cloth lid at night |
| Ants | Too dry | Water and mix |
What usually goes wrong
- All grass clippings, no carbon, a slimy brick
- All leaves, a pile that sits from October to October
- Adding new banana peels to the “finished” bay
- Plastic bags and twist ties you forgot to pull
Further reading
- Cornell: balancing greens and browns (PDF)
- Cornell compost physics
- UC three-bin composting system (PDF)
- Your county extension “home composting” sheet (they often list what not to add in your region)
When bay 3 is quiet, dark, and you would put your hand in it without flinching, dump it on the garden and start bay 1 again.
Want more like this? Browse the full Home Garden collection.
Keep building
DIY Vegetable Garden Planning and Layout
Start with what you actually eat, find the real sun, then build beds you can reach and water—before you buy a single packet of seed.
Read more
Building Your Backyard Chicken Coop and Raising Chickens
Check the ordinance, size the flock, then build a lockable coop with real hardware cloth, roosts, and nest boxes—before you bring home a box of chicks.
Read more