
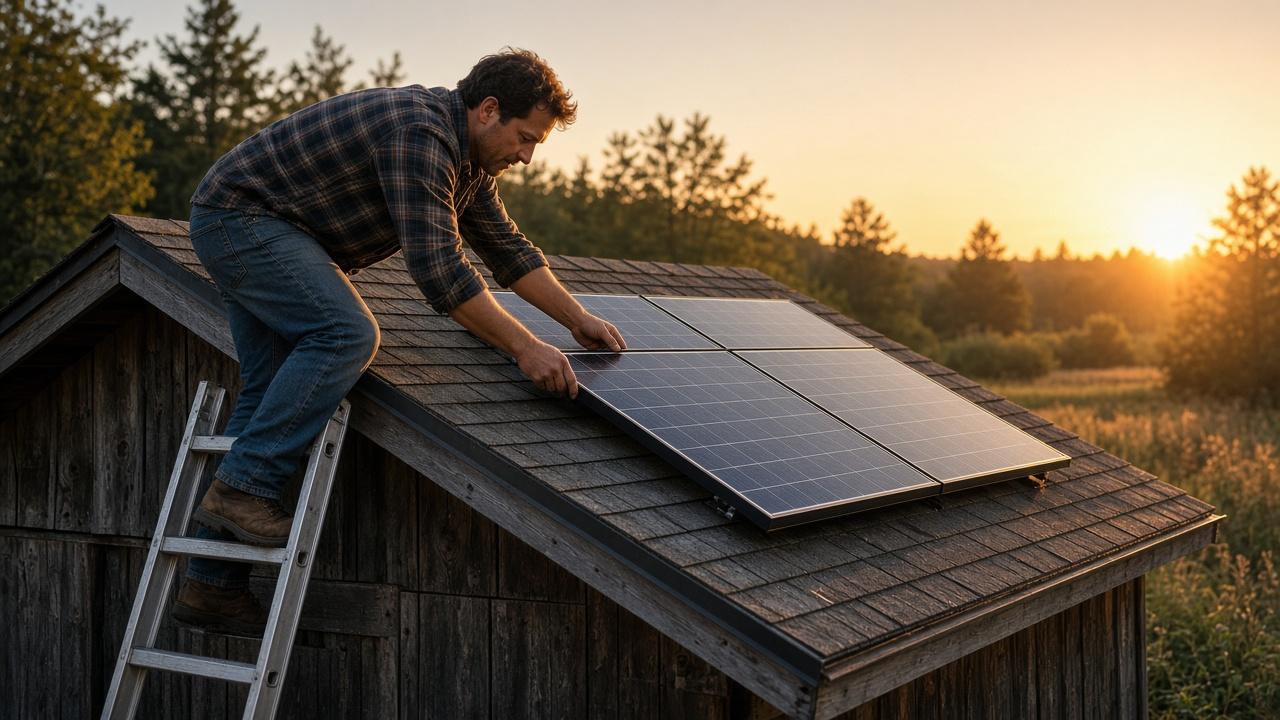
Build · 26 min read
Off-Grid Solar Basics for a Small Cabin or Shop
List every watt-hour you actually use, size batteries and panels from the worst month, then match a charge controller and inverter—without skipping disconnects, fusing, or a licensed electrician when the service gear gets real.
Off-grid solar is arithmetic first, shopping second. The kits that skip the load list are how people buy 400 watts of panel and a microwave and then blame the sun. This guide walks a beginner through a small cabin or shop: lights, phones, a laptop, maybe a fridge. It is not a whole-house design and it is not permission to skip code.
Electricity can kill you and can burn a cabin down. Use listed equipment (UL or equivalent), put fuses or breakers on the right wires, install a DC disconnect you can reach, and hire a licensed electrician for anything that looks like a service panel, a ground rod decision you don’t understand, or a connection to a generator. Local rules apply. Nevada County’s public handout is a good example of how seriously jurisdictions take this: Off-grid solar handout (PDF).
The five pieces, in order
- Loads — what you run, in watt-hours per day
- Battery — stores night and cloudy-day energy
- Panels — replace what you used, in your worst sun month
- Charge controller — protects the battery from the array (MPPT for most modern arrays)
- Inverter — makes AC if you need wall-outlet power; size for surge (fridge, tools)
Plus: wire, strain relief, fuses, a ground scheme the electrician signs off on, and honest expectations about winter.
Step 1 — Make a load table (do not skip this)
For each device write: watts × hours per day = watt-hours (Wh).
Example starter cabin (yours will differ):
| Device | Watts | Hours/day | Wh |
|---|---|---|---|
| LED lights (total) | 40 | 5 | 200 |
| Phone + laptop charging | 80 | 3 | 240 |
| 12V fan | 20 | 4 | 80 |
| 12V fridge (average) | 50 | 24 | 1,200 |
| Total | 1,720 Wh |
Add 20–30% because you will forget something. Round to ~2,200 Wh/day.
A space heater or a big air compressor does not belong on a starter array. Efficiency (LEDs, a good fridge, not heating with electricity) is cheaper than extra panels.
NREL’s PVWatts tool helps you understand sun at your site later: PVWatts.
Step 2 — Size the battery from days you want to survive
Decide days of autonomy (often 1–2 for a weekend cabin you can leave; 2–3 if you live there). Decide chemistry.
LiFePO4 is common now: you can use more of the rated capacity (often designed around ~80% usable). Lead-acid is cheaper up front and hates being drained; usable capacity is much less of the sticker number.
A planning formula people actually use:
Battery Wh ≈ (daily Wh × days) ÷ (usable fraction × inverter efficiency)
Using 2,200 Wh, 2 days, 0.8 usable, 0.9 inverter:
2,200 × 2 ÷ (0.8 × 0.9) ≈ 6,100 Wh. That is a 48V 120Ah class bank, or a 24V 250Ah class bank—not a single “car battery.”
Place batteries in a dry, protected spot per the manufacturer. Vent lead-acid. Lithium wants a battery management system and usually a compatible inverter.
Step 3 — Size the array for the worst month, not July Instagram
Find peak sun hours for your location in December (north of the equator). PVWatts or a solar installer chart. Suppose winter gives you 3 peak sun hours.
Panels do not deliver sticker watts. A 0.70–0.80 derate for dirt, heat, wire, and controller loss is a sober beginner assumption.
Array watts ≈ daily Wh ÷ (sun hours × derate)
2,200 ÷ (3 × 0.75) ≈ 980 W. Add margin; a 1,200 W array is a reasonable conversation with a supplier, not a promise.
Face true south, unshaded from 9–3. Ground mounts are easier to clear snow. Roof mounts need structure and flashing done right.
Step 4 — Charge controller (usually MPPT)
MPPT controllers squeeze more out of a high-voltage array and are the default for cabin systems.
- Array watts ÷ battery charging voltage × 1.25 (continuous margin) ≈ controller amps. Example: 1,200 W into a 24V bank → 1,200 / 24 = 50 A, × 1.25 = 62.5 A → buy a 60–80A controller as specified by the manufacturer, not a guess from a forum.
- Check cold-weather Voc. Panel voltage rises in the cold. If winter Voc exceeds the controller’s max input, you let the smoke out. This is a real spec-sheet step, not optional.
PWM controllers can be fine on tiny, matched 12V toy systems. Don’t pair a big 60-cell array with a cheap PWM on a 12V battery.
Step 5 — Inverter: continuous and surge
- Add the watts of everything that might run at once.
- Then look at motor surge (fridge, well pump, circular saw)—often 2–3× running watts for a second.
A 2,000 W pure sine inverter that can surge higher is a common small-cabin size; a 700 W unit will not start many fridges. Cheap modified-sine inverters make tools and some electronics unhappy.
Idle draw matters. A big inverter left on 24/7 can eat your lights budget.
Step 6 — Wire, fusing, disconnects, ground
This is where beginners get hurt.
- Use the wire gauge the controller/inverter manual specifies for the current and the run length. Undersized cable heats up.
- Fuse at the battery on the positive cable, rated for the cable and the device.
- A DC disconnect between array and controller, and a way to isolate the battery, are not decorations.
- Strain-relief every cable through metal walls.
- Bonding and grounding: follow the equipment manuals and an electrician. Do not invent a ground rod story from a video.
Energy.gov’s homeowner solar pages are a sane overview: Solar energy at home.
Step 7 — A realistic first system
Many people should start DC-coupled: 12 or 24V lights and a fridge that can run DC or a small inverter only when needed. Every conversion to AC wastes energy.
Live on the load list for a week with a Kill-A-Watt meter on the shore power version of your devices if you can, then buy panels.
What usually goes wrong
- Shopping panels first
- No fuse at the battery
- Winter Voc surprise
- A 1,500 W heater “just in the evening”
- Unlisted Amazon specials with no manual
Further reading
- NREL PVWatts — sun at your address
- Energy Saver: solar at home
- Energy Saver: off-grid or stand-alone systems
- Verasol component-based off-grid design guidelines (PDF)
- Licensed electrician + your AHJ (building department) before you energize anything that looks like a dwelling service
If the load list is honest and the fusing is real, the sun is the easy part.
Want more like this? Browse the full Build collection.
Keep building
Home Defense: Building Secure Perimeters
Walk your lot, map the real approach paths, then layer lighting, gravel, gates, and sightlines so the place is easier to live in—and harder to wander into unnoticed.
Read more
How to Design and Build a Root Cellar
Borrow the ground’s coolth the right way: drain the site, vent it on purpose, and store each crop in the temperature and humidity it actually wants.
Read more
Rainwater Harvesting for Garden and Shop
Screen the gutters, divert the dirty first flush, elevate a sealed barrel, and overflow away from the foundation—then use the water on plants, not in a glass.
Read more